How to Make Homemade Pasta Without a Machine (and When You Need One)
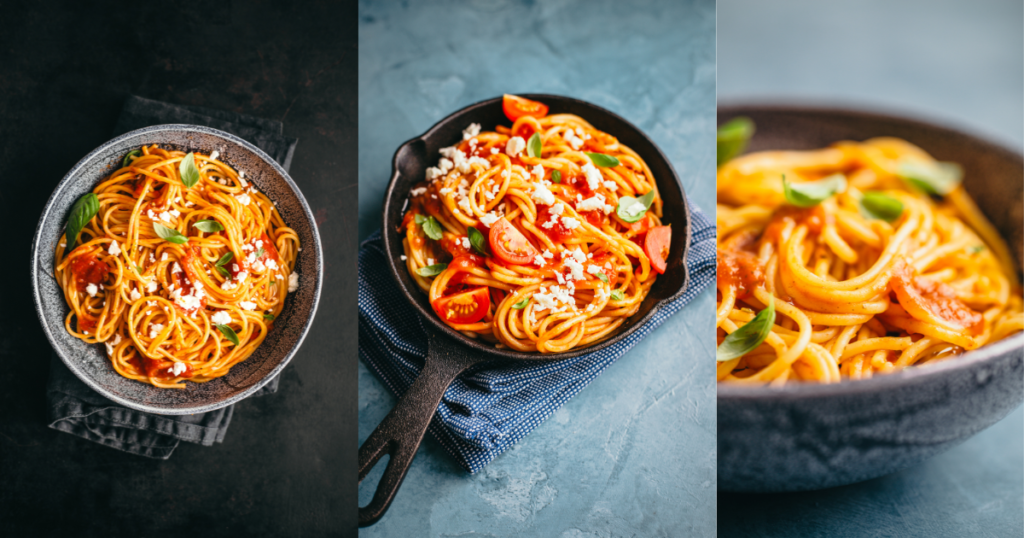
Homemade pasta tools get a lot of hype, but they’re not the secret to great pasta. The real magic lies in how you mix, rest, and roll the dough. And the surprising part? You can do all of it without a pasta machine.
We’ll break down the differences between hand-rolling and machine-rolling, everyday gluten-free struggles, and the exact moments when a tool makes life easier. If you ever want to level up, the Marcato Atlas 150 and the Ankarsrum mixer are smart upgrades… not requirements.
What You Really Need to Make Pasta at Home (No Machine Required)
You don’t need fancy gear to make great pasta…just a few simple tools and the proper technique.
Perfect dough comes from feel, not equipment. And yes, how to make pasta at home without an oven is simple because pasta doesn’t require an oven at all. All you need is boiling water.
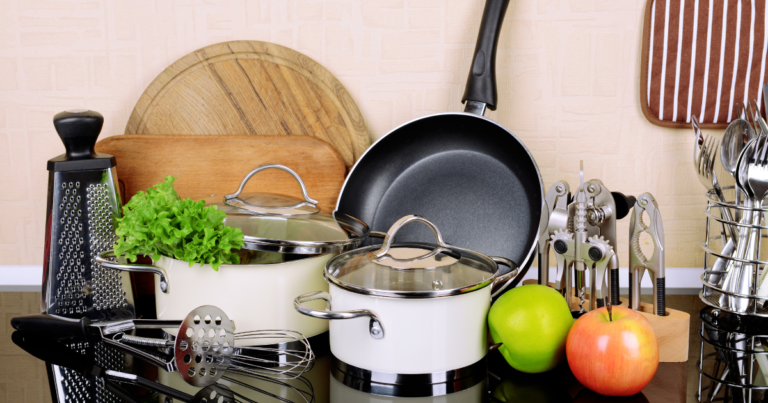
Basic Tools You Already Have to Make Pasta At Home
These simple items cover almost everything you need for homemade pasta:
- Mixing bowl
Helps you bring the dough together quickly and keeps your workspace clean. - Rolling pin
Lets you press and stretch the dough until it becomes thin and flexible. - Bench scraper
Makes cutting dough easier and helps keep flour under control. - Clean countertop
Works as your kneading and rolling surface. Wipe it dry, dust it lightly, and you’re set. - Optional: digital scale
Use it for consistent flour-to-egg ratios, especially helpful for beginners.
The Techniques You Need To Know To Make Perfect Pasta Without a Machine More
Tools make the process easier, but they don’t determine the quality of your pasta. Your dough feel, kneading rhythm, and rolling technique matter far more.
Focus on getting the dough smooth, letting it rest, and rolling it evenly. Once you master those basics, your pasta will turn out great, whether you’re using a machine or not.
The “Perfect Dough” Fundamentals
Good pasta dough is predictable. It tells you when it needs more hydration, when it’s had enough kneading, and when it’s ready to roll.
Whether you’re making classic egg dough or adapting for homemade gluten-free pasta, these fundamentals help you get consistent results every time. Think of this section as your cheat sheet for avoiding tough noodles, crumbly dough, or sheets that tear.
Ingredients That Matter Most For Dough
Flour choice affects stretch, bite, and color.
- 00 Flour
Ultra-fine, soft, and high in protein.
It absorbs liquid evenly, making the dough smooth and easy to roll thin by hand. Great for beginner-friendly sheets.
- All-Purpose Flour
A reliable middle ground.
If you’re new to pasta, AP flour gives you predictable results. It creates a slightly firmer dough that’s easier to handle when rolling by hand.
- Semolina (or semola rimacinata)
Adds structure and chew.
Use 20–30% semolina when you want pasta that holds shape well and stays firm after cooking—especially for fettuccine, pappardelle, or rustic shapes.
Egg Ratio Guide
Start with 100g flour and 1 large egg. If your eggs are small or your kitchen is dry, add 1–2 teaspoons of water. If your dough feels sticky, dust lightly with flour—never add large amounts at once or you’ll toughen it.
For Gluten-Free Dough:
Use a blend containing rice flour + starch (potato/tapioca).
Add 1–2 teaspoons of olive oil for elasticity.
Expect a softer dough that cracks if rolled too fast—go slower and use parchment to help lift the sheet.
Hydration & Texture
Perfect hydration is the difference between frustration and smooth rolling.
Signs Your Dough Is Too Dry:
- Crumbles when you press it
- Tears quickly while rolling
- Doesn’t come together within 1–2 minutes of kneading
Fix: Dip your fingers in water and knead again.
This avoids overhydrating the dough.
Signs Your Dough Is Too Wet:
- Sticks aggressively to the counter
- Feels mushy or leaves residue on your hands
- Refuses to hold a ball shape
Fix: Dust with flour gradually while kneading 30–60 seconds between additions.
Gluten Development:
Knead for 8–10 minutes. You’re looking for a dough that springs back when poked. If it feels tight, don’t force it—resting fixes that.
Gluten-Free Dough Tip:
Mix just until combined. Too much handling makes it crack. Pat it into a rectangle instead of a ball to make rolling easier later.
Resting the Dough
This step completely transforms your rolling experience.
Why Resting Helps:
- Gluten relaxes → dough becomes more elastic
- Hydration evens out → smoother texture
- Rolling becomes easier → fewer cracks and tears
Rest for 20–30 minutes at room temperature.
If your kitchen is hot, cover with a bowl instead of plastic wrap to avoid sweating.
Gluten-Free Resting Tip:
Wrap tightly and rest for 15–20 minutes only. Too long makes it dry and fragile.
Practical Test:
Press your finger into the dough.
If it slowly springs back without cracking, it’s ready.
How to Make Perfect Homemade Pasta by Hand (Step-by-Step)
Making pasta by hand involves clear, repeatable steps. Follow their instructions, and you’ll achieve thin, even sheets and clean-cut noodles without a machine.
Step 1: Mix and Knead: Build the Right Texture
Measure flour and eggs accurately. Make a well of flour on the counter. Crack eggs into the well. Use a fork to slowly draw flour into the eggs until a shaggy dough forms. If using a bowl, stir until the mixture clumps, then transfer it to the counter.
Knead by hand for 8–10 minutes. Push with the heel of your hand, fold, rotate. You want a smooth, slightly tacky ball that springs back when poked.
If the dough tears easily, it needs more kneading or a brief rest. If it sticks, dust lightly with flour—avoid adding large amounts.
Step 2: Rest Properly: Let the Dough Relax
Wrap the dough in plastic or cover it with a bowl. Rest at room temperature for 20–30 minutes. Rest relaxes gluten and evens hydration.
The dough becomes more elastic and less likely to snap when you roll it. For later use, chill wrapped in the fridge up to 24 hours; bring back to room temperature before rolling.
Step 3: Roll Thin (Without a Machine): Technique and Troubleshooting
Lightly flour your work surface and rolling pin. Flatten the dough into a disk. Hold the rolling pin near the center with both hands.
Start from the center of the disk and roll outward. Rotate the dough a quarter turn after a few rolls to maintain even thickness. Work from the middle to the edges in gradual passes.
Aim for a thickness of about 1–2 mm for tagliatelle; thinner for delicate shapes. If the sheet tears, either the dough is too dry or it needs more rest. Patch the tear with a bit of water and press the dough together, then roll it gently. If the sheet sticks, dust with semolina or flour sparingly. Fold the sheet loosely into thirds and make one or two firm rolls before cutting to create even strips.
Step 4: Shape Your Pasta: Quick Methods
- Tagliatelle: Fold or roll the thin sheet into a tube and slice to the desired width (6–8 mm). Unroll strips and hang to dry briefly.
- Pappardelle: Same method; slice wider (20–30 mm).
- Lasagna sheets: Cut into rectangles. Lay flat on a floured surface or parchment.
- Hand-cut shapes: For rustic noodles, slice freehand; for filled pasta, use rounds and seal edges tightly.
Step 5: Cook for the Right Texture
Boil a large pot of well-salted water. Fresh pasta cooks fast: 1–3 minutes, depending on thickness. Start timing when the pasta hits the water.
Taste for al dente…tender but with a slight bite. Reserve some cooking water to loosen sauces. Drain quickly and toss with sauce; don’t rinse.
Storage tip:
Fresh pasta can be refrigerated for up to 24 hours or frozen on a tray, then bagged for longer storage.
Follow these steps and you’ll consistently produce tender, even pasta.
When You Actually Need a Pasta Machine (and When You Don’t)
A pasta machine isn’t required for great homemade pasta, but it does make a big difference in certain situations. The key is knowing when hand-rolling works perfectly—and when a tool saves time, energy, and frustration.
When You Don’t Need a Machine
Hand-rolling is ideal for most home cooks. If you’re making small batches, rustic shapes, or pasta that doesn’t need thin sheets, your rolling pin is enough. Tagliatelle, pappardelle, lasagna sheets, and hand-cut noodles all come out beautifully by hand. You control the dough, feel the hydration, and adjust as you go—something even seasoned cooks prefer.
When You Do Need a Machine
A pasta machine helps in four clear situations:
- Very thin sheets: Machines roll finer and more evenly than most people can by hand. This matters for delicate shapes like ravioli or tortellini.
- Large batches: If you’re making pasta for a crowd, hand-rolling can become tiring quickly. A machine speeds up the process.
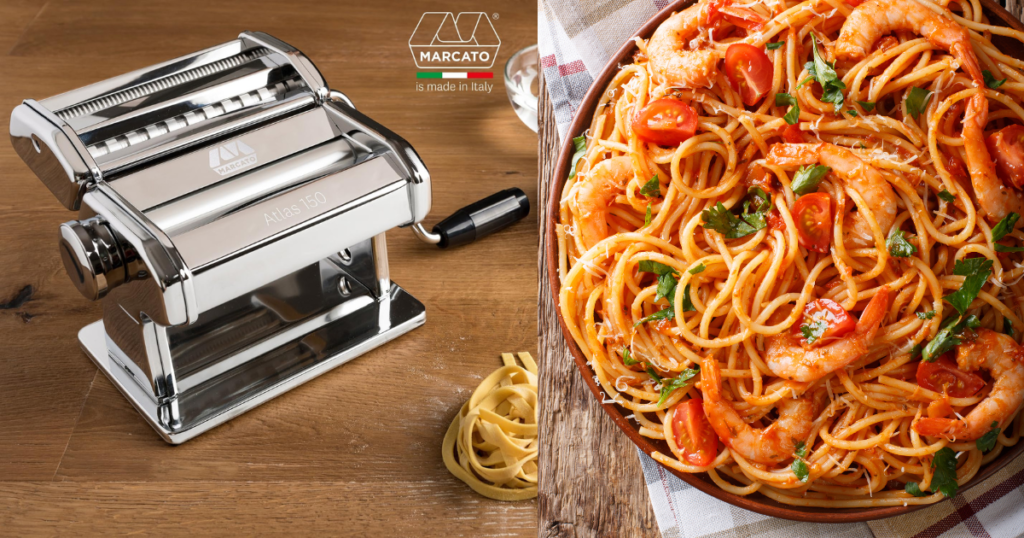
- Consistent thickness: Uniform sheets mean even cooking. This is where machines like the Marcato Atlas 150 shine—smooth rollers, steady pressure, predictable results.
- Filled pasta: Thin, even sheets seal better and cook more evenly.
When a Stand Mixer Helps
A stand mixer, such as the Ankarsrum mixer, is valuable for mixing and kneading when you want to save time or avoid hand-kneading large dough batches. It builds strong gluten without overworking your hands, giving you a smooth, elastic dough ready for rolling.
Tools That Make Pasta Easier (Optional but Very Helpful)
You can make excellent pasta with just a rolling pin and a clean counter—but a few upgraded homemade pasta tools make the process smoother, faster, and more consistent. Each tool solves a specific problem home cooks often encounter.
Marcato Atlas 150 (For Thin, Even Sheets)
If your dough keeps bouncing back or rolling unevenly, a pasta machine helps. The Marcato Atlas 150 creates uniform sheets and consistent thickness, which is especially helpful for ravioli, fettuccine, and very thin lasagna sheets. It saves time and provides professional-level control with minimal effort.
Ankarsrum Mixer (For Efficient Kneading)
Hand-kneading is rewarding but tiring. The Ankarsrum mixer handles the heavy lifting. It builds gluten evenly and prevents dry spots or overworked dough. This tool is ideal for large batches or for cooks who prefer a cleaner, hands-off kneading process.
Dough Scraper (For Clean, Controlled Work)
A bench scraper keeps your workspace tidy, lifts sticky dough, and helps portion your pasta. It also prevents you from adding unnecessary flour, which can make the dough tough.
Pasta Drying Rack (For Space & Cleanliness)
Long noodles clump easily. A drying rack keeps them separated, dusted, and tangle-free before cooking or storing.
Digital Scale (For Consistent Results)
Pasta dough is all about ratios. A digital scale ensures accurate measurements of flour and eggs, especially when making gluten-free or high-precision doughs.
How to Make Homemade Gluten-Free Pasta (Step-by-Step)
Making homemade gluten-free pasta requires a different approach than regular dough. Without gluten, the dough behaves differently—so hydration, binding, and technique matter more. Here’s a practical, reliable method that works for most gluten-free blends.
1. Choose the Right Gluten-Free Flour Blend
Use a blend made for pasta or bread, not a general baking blend. Look for mixes containing rice flour, tapioca, potato starch, or sorghum. Avoid blends that are primarily almond or coconut—they crumble too easily for pasta.
2. Add Strong Binders for Elasticity
Gluten-free dough needs structure. Use:
- Psyllium husk for stretch and flexibility.
- Egg whites to hold the dough together.
- Whole eggs for richness and moisture.
Together, they mimic the elasticity gluten normally provides.
3. Adjust Hydration Carefully
Gluten-free dough absorbs water slowly. After mixing:
- Rest it for 10–15 minutes to let the flour hydrate.
- Add 1–2 teaspoons of water only if it still feels sandy or cracks when pressed.
- If it becomes sticky, dust lightly with rice or tapioca flour—never wheat flour.
4. Roll Gently and in Small Sections
GF dough tears more easily, so work in small portions. Press it into a thick disc first, then roll outward with light, steady pressure. If edges crack:
- Mist with a tiny bit of water.
- Fold and roll again to smooth it out.
You won’t get it as thin as wheat pasta, and that’s normal.
5. Cook Quickly and Carefully
Gluten-free pasta cooks fast…usually 2–3 minutes. It goes from perfect to mushy quickly, so taste-test early. Boil in well-salted water and avoid overcrowding.
Common Mistakes Amateur Cooks Make While Making Pasta at Home (And How to Fix Them)
Even simple pasta dough can go wrong fast. Here are the most common issues beginners face…and the quick fixes that make all the difference.
Overworking the Dough
Kneading too long makes the dough rigid and elastic.
Fix: Knead only until smooth…about 8–10 minutes. Stop as soon as it stops sticking to your hands.
Using Too Much Flour While Rolling
Extra flour dries the dough, causing cracks and uneven sheets.
Fix: Dust lightly. If the dough sticks, lift it and rotate it instead of adding more flour.
Skipping the Rest Period
Unrested dough shrinks back and resists rolling thin.
Fix: Rest for 20–30 minutes, covered. This relaxes the gluten, making rolling smooth and effortless.
Rolling Unevenly
Thick and thin patches lead to pasta that cooks at different speeds.
Fix: Roll from the center outward with even pressure. Rotate the dough 90 degrees after every few passes.
Under-Salting the Pasta Water
Bland water = bland pasta, no matter how perfect the dough is.
Fix: Salt until the water tastes like the sea…about 1 tablespoon per quart.
Mastering these basics gives you consistent, silky pasta every time—even without special equipment.
Final Take: Anyone Can Make Pasta At Home
You don’t need fancy equipment to make incredible past, but you do need some patience, practice, and a willingness to get your hands messy.
Hand-rolling teaches you how dough should feel, stretch, and move. Once you understand that, every pasta shape becomes easier. Start simple, repeat the process, and let your confidence build naturally. When you eventually feel limited (maybe you want thinner sheets or bigger batches), that’s the right moment to upgrade your setup. If you’re curious which tools are worth it, explore our detailed reviews of the Marcato Atlas 150 and the Ankarsrum mixer.